Showing posts with label snow swirled. Show all posts

Saturday, July 26, 2014

Christmas In July

Tomorrow we begin our Christmas card stamp-a-stack classes, making 10 cards each month from July-October. I decided to begin with some soft pastel cards and our first uses pool party with crumb cake, very vanilla and a touch of soft suede.


Materials used:
  • stamps - Snow Swirled (retired)
  • card - pool party, crumb cake, very vanilla
  • other - embossing folder, dimensionals, holiday framelits, Big Shot
  • non SU - ribbon, hot glue gun

The baubles were embossed after inking the embossing folder with pool party ink to achieve this gorgeously elegant, vintage look. 

Our second design involves some watercolouring, so I limited it to four colours and kept the background very simple - when making 5 of these, we don't want it to be too time-consuming.


Materials used:
  • stamps - House Mouse, SU Christmas greeting
  • card - pistachio pudding, crumb cake, watercolour, whisper white, strawberry slush patterned paper
  • other - aqua painter, dimensionals, markers, banner punch, stylish stripes embossing folder, Big Shot

I bought my first Christmas present last week, so I am certainly starting to gear up for the holiday already! LOL

Thanks for stopping by.

Cheers
Kez

Sunday, December 23, 2012

The Man Himself

Didn't expect to get time to get another post in before Christmas, but here I am!

Each year we think up a theme for our Christmas decorating, food, etc - and this year we chose the man himself, Santa Claus. So our Christmas dinner menu is food that is full, robust and heartwarming and we have plenty of red and white items around.

The other day I found a garden light at my local $2 shop which I couldn't resist buying and yesterday I glanced upon a large glass vase I have - and the two items clicked together in my head as an idea for our Christmas table centrepiece. Luckily, when I tried it out, my idea came together first time (hooray!) and produced our very own North Pole:


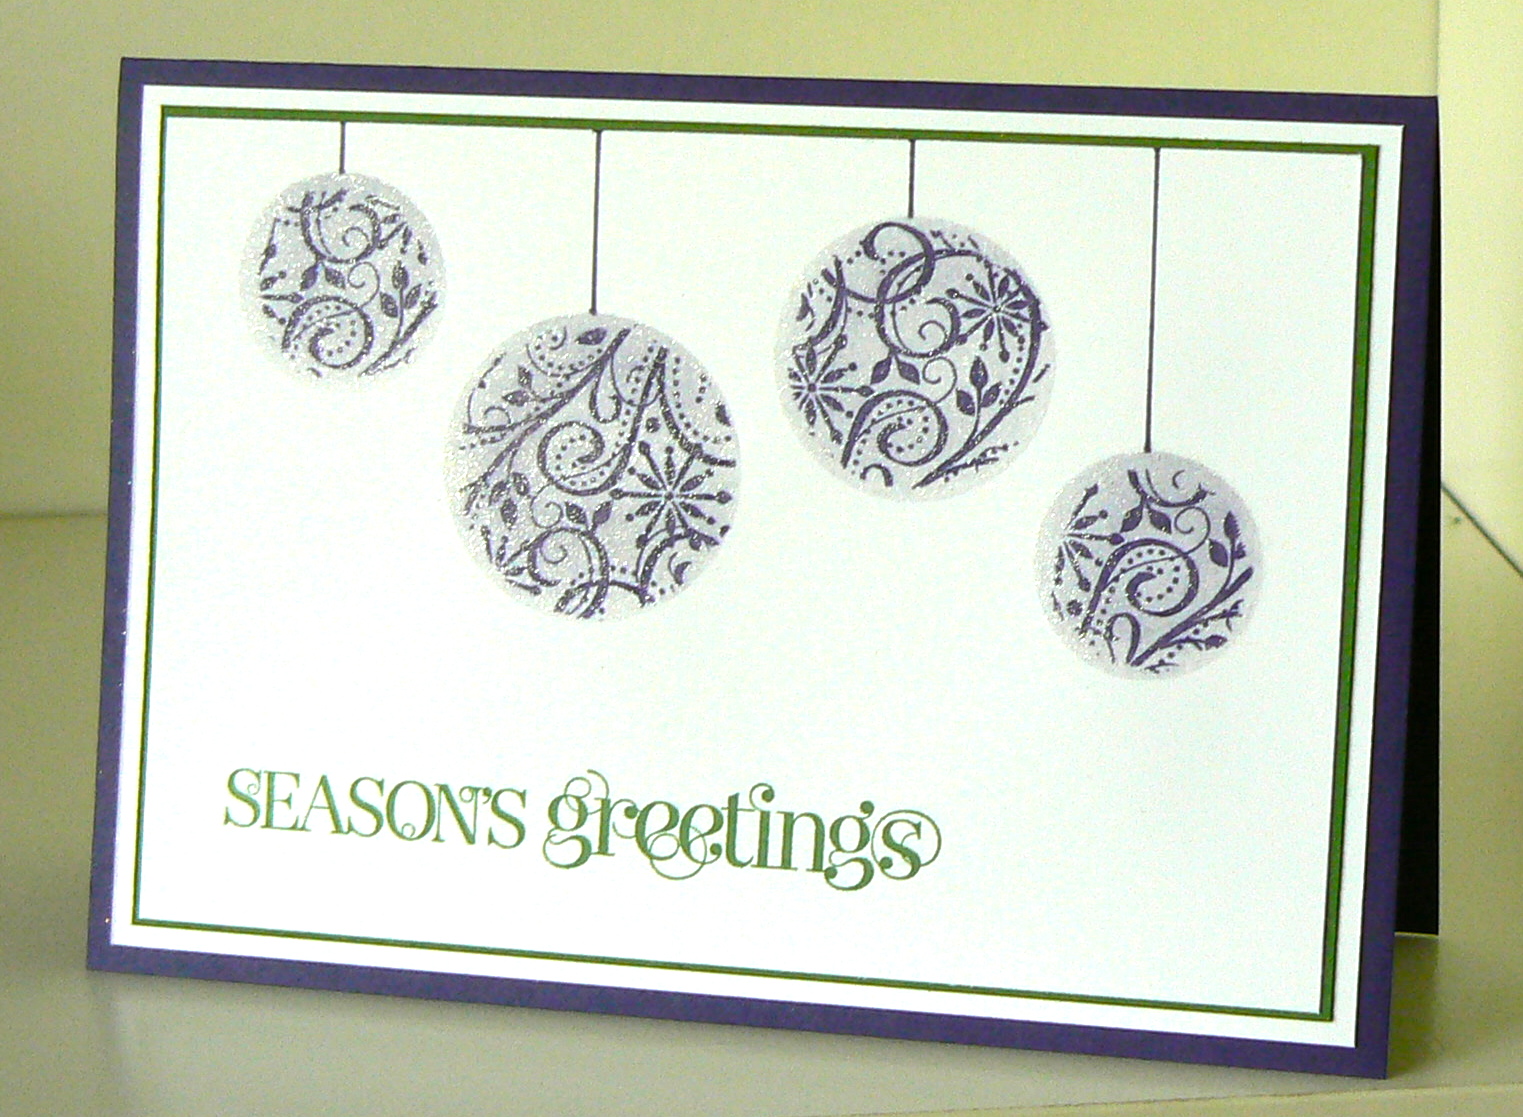
And yes, you do recognise those snowflakes I am sure - from the Snow Swirled set which I have stamped on with whisper white craft ink (rotate pressure on the stamp a little as you press the ink on to the rounded surface of the vase).

I also saw a very simple idea on Pinterest that I have used to dress up the dining chairs a little - here's a photo of one of those:


And our Christmas dinner menu is inside this little holder made with the two tags die and stocking punch:


Materials used:
  • card - midnight muse, crumb cake, real red, basic black, glitter card
  • other - two tags die, Big Shot, stocking punch, dimensionals
  • non SU - brick wall embossing folder, corner rounder punch

Just little things to make our day even more fun. Hope you are enjoying preparing for Santa too!

Thanks for popping in.

Cheers
Kez

Saturday, October 22, 2011

Did You Hug a Kiwi Yesterday?

Did you know that yesterday was International Hug a Kiwi Day? The lovely ladies at my workshop all got a hug from this kiwi! Hi gals! I had so much fun and am looking forward to our next date.

We made this card yesterday which I cased from Kristin Moore with a couple of changes:


I had also made some other samples using Snow Swirled, as that is the set they were all keen to see:


Concord crush, whisper white and garden green for this one. I masked my holes, stamped the tree image, sponged and then sprayed with shimmer mist - click on the photo to see this closer.


Island indigo, whisper white and calypso coral look stunning for a non-traditional colour combo.

Thanks for dropping in today.

Cheers
Kez

Saturday, December 4, 2010

Secret Santa

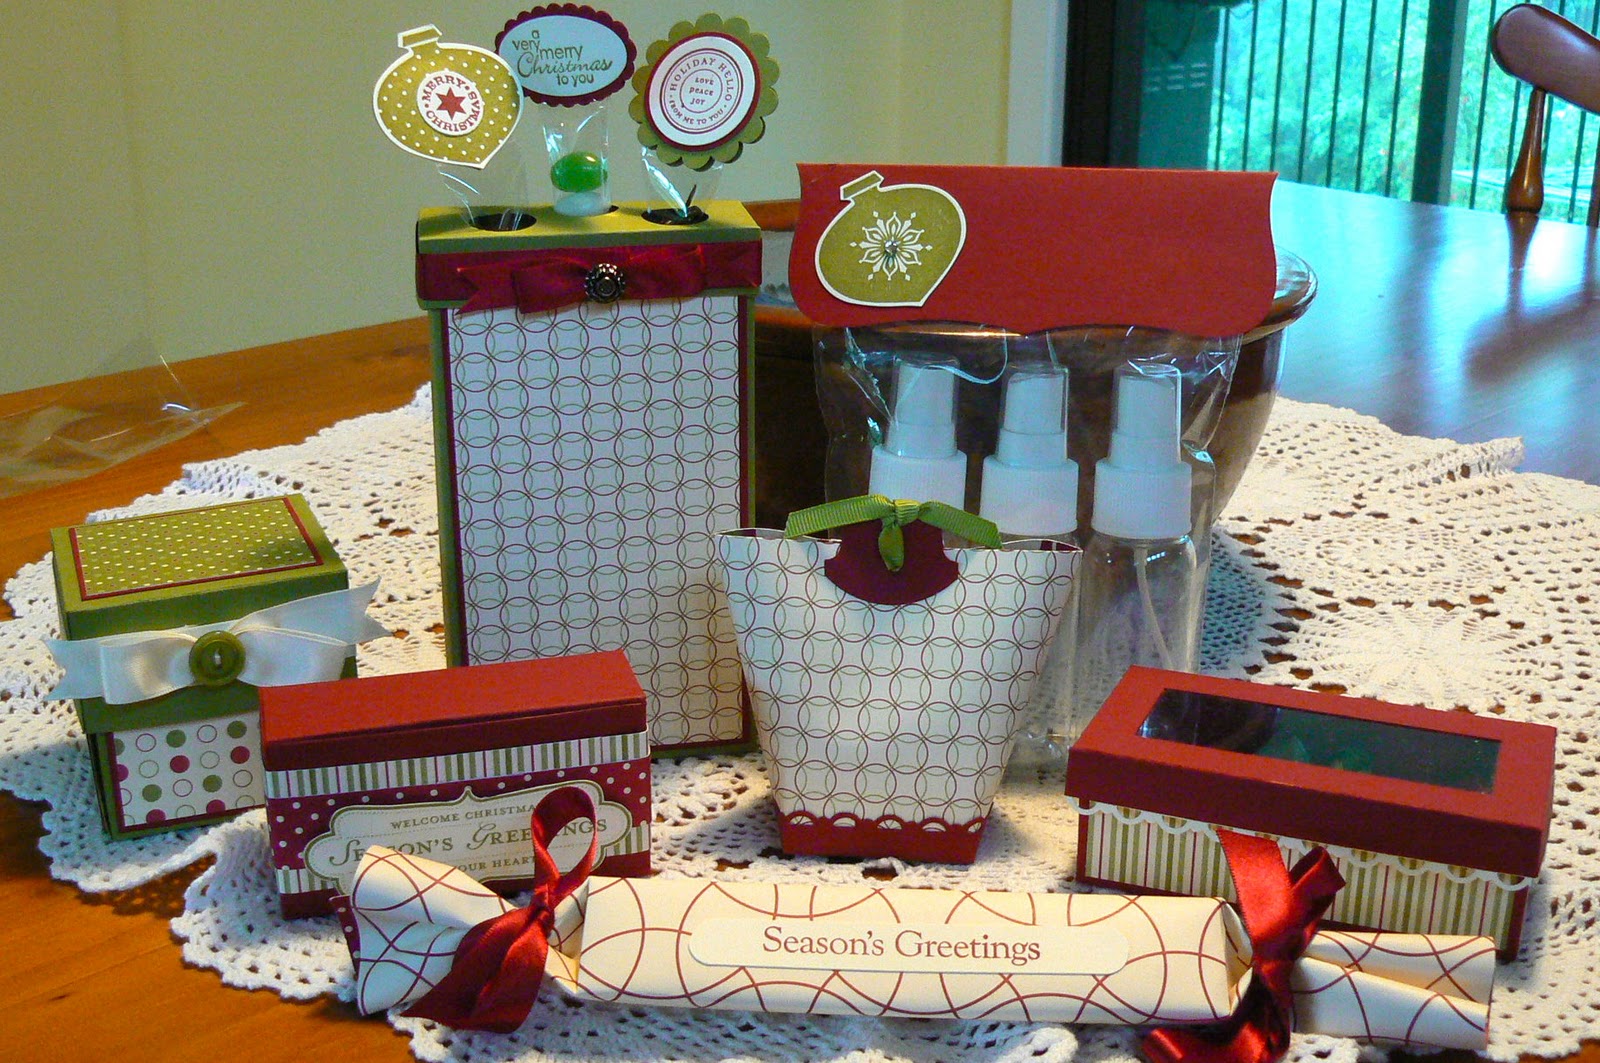
Our SU team has a Christmas dinner every year and we all get allocated a person to be Secret Santa for. We don't spend a lot on gifts, but most of the fun is in the packaging and wrapping and making the present look totally gorgeous.

I was SS for Rachel and these are the gifts I made for her:


Here are the packets individually:

The decorated glass bauble from yesterday's post


A box containing gift tags


A container of Smooch Spritz (looks like a Toblerone!)


Some Xmas ribbons in a small window box


A mini bag in a box with shimmer paint inside


Three spray bottles to use for water or shimmer paint


Tubes filled with antique brads, brads and label holders from hodgepodge hardware and Christmas coloured jelly beans and I made a box to store them in.


Phew! So many photos - I'll have to come back another day to show you the beautiful things my SS gave me!

Have a great day.

Cheers
Kez

Friday, December 3, 2010

Secret Project

Howdy! At last I am able to show you the project I presented at our "regionals play day" on Monday.

A sweet box made using Christmas papers and some gorgeous satin ribbon.


No, you're right, it wasn't just a box! Inside it, wrapped carefully in tissue, is a decorated glass bauble. Take a lookie:


I stamped small snowflakes on the outside of the bauble (using white StazOn ink). The snowmen were stamped on vellum cardstock (again using StazOn, this time in black) and coloured with markers and whisper white craft ink. The shape was cut to fit, then inserted into the bauble and some white Flower Soft added to look like snow.

A cute little gift and a lovely way to present a homemade decoration for the tree of someone special.

Materials used:
  • stamps - Snow Swirled, Holiday Lineup
  • card and paper - old olive, cherry cobbler, Jolly Holiday DSP, vellum
  • markers - cherry cobbler, marina mist, old olive, pumpkin pie
  • inks - white StazOn, black StazOn
  • other - very vanilla satin, old olive button, Big Shot
  • other - Flower Soft, nestabilities die, glass bauble, cherry cobbler satin ribbon, embroidery thread
Hope you like it! Back tomorrow to show you the other items I made for my Secret Santa gifts. Thanks for stopping by.

Cheers
Kez

Sunday, November 21, 2010

Plethora of Christmas

Here's a bunch of Christmas cards I've made lately:


This one was cased from Teneale and others, and I used the snowflakes from Snow Swirled to make my wreath. I added dazzling diamonds, which you can't see in the photo.


Another card using Delightful Decorations and the Ornament Punch. Trying to add some vintage glam!


This one is my favourite, so simple and so evocative. The wreath was made using a flower from the Boho Blossoms punch and the Vintage brad makes the perfect door knob!


This one uses a set I was lucky enough to get from the US called Bells and Boughs. I've used the Petals APlenty embossing folder, which matches the poinsettia so well!


Another Bells and Boughs with Petals APlenty, this time using the technique where you mask the embossing to create a gap for stamping on. I painted the poinsettia with Champagne shimmer paint, which you can see in the following close up: 


Gorgeous effect!

Well, I think that may be the last of my Christmas cards this year apart from a few special ones for special people. Still plenty of Christmas boxes, bags and tags to make yet, though!

Thanks for stopping by.

Cheers
Kez
Wednesday, October 13, 2010

Cards For Our Troops

It's only 4 sleeps now until my very special event making Christmas cards for Aussie troops serving overseas in combat zones to send home to their families and loved ones. All stations are GO! (as Thunderbirds would say!) and I've a few things still to organise, so will be MIA for a few days here on the blog.

These are the card designs for everyone to make; I kept them as simple and straightforward as I could without being too plain (IYKWIM):


We have some fantastic raffle prizes and lucky door prizes to give away, thanks to the generosity of Stampin' Up!, my upline Marelle Taylor and fellow demos Juliette Chapman, Nikki Stalker and Robyn Irving. So I am looking forward to a fun day for a wonderful cause and I'll be back next week.

Have a good one!

Cheers
Kez

Saturday, August 21, 2010

Lovin' That Ornament Punch!

I know it's mean to taunt you all with my gorgeous Ornament Punch when you don't have one yourselves, but console yourself with the fact that you WILL be able to get one from 1st September! Oh yeah, you read it right, that baby is in the new IB&C, along with my fav Xmas stamp set, Delightful Decorations.

Just to keep you going until you can order these delightfully delicious goodies, here is a Christmas card I cased from Chat. I've used Rich Razzleberry and Old Olive and think they make rather a lovely Xmas combo, so might just have to use them again!

Noice!

Now, for my next card you will need to sneak into your soundproof room and bolt the door, cos you are gonna squeal so loudly with awe and glee that the family will think something is wrong and come a-runnin'!!! I am talking SERIOUSLY cute people! This one I cased from the very talented Jackie Topa and it was soooooooooooo much fun to create.

Here's the outside.


Can you tell me these two little tykes aren't just the cutest thing? Busy makin' their snowman with their cheeks flushed from the cold crisp air ... Awwwwwwwww! But wait! There is more to come, yes indeedy! For when you open up the card you find ...


Is that awesomely cute or WHAT? LOL! Even my DH (who is most definitely NOT known for his praise of my cards - amazing, I know!) said of this card: "Now THAT is a real card!"

So there you have it. If the ornament punch was not number one on your wish list from the new catty, it will be now I'm sure. And so my work is done!

Cheers
Kez

Wednesday, August 4, 2010

If At First You Don't Succeed

This is a card I made last year with a thought to using it for my Stamp-a-Stack classes, but I wasn't entirely happy with it and didn't end up using it. I call this version 1:


So, I am now planning my SAS for this month and decided to revamp the card.

The things I didn't like were the line at the end of the embossing (above the sentiment), the gap left above the left hand bauble, and the ribbon. So I put my thinking cap on and made some changes: added another layer (which I think makes it look more finished), embossed the greeting (to eliminate the line) and shortened the top panel (to eliminate the gap above the bauble). Here is version 2:

Still not entirely happy - not sure about the stamped sentiment being embossed, plus I think the embossed background dominates the card a little - not what I was after.

Thinking cap back on, reverted to original size for the top panel and moved the sentiment from the larger piece, allowing me to still emboss the whole bit. Now the embossed background does what it is meant to - stays in the background - while my front panel is the main focal point and the sentiment fills in the gap above the baubles. Hooray for version 3!


This gorgeous ornament stamp is from a set called Delightful Decorations, which I was lucky enough to receive from a friend in Canada last year. It comes with a matching punch - the ornament punch, which you've seen samples from recently - which makes it oh so easy! You may perhaps see these two items around quite a lot after 1st September ...

Thanks for calling in today. Have a good one!

Cheers
Kez

Sunday, July 11, 2010

Christmas Is Coming

Yes, it's THAT time again! Time for all good cardmaking peeps to start their Christmas cards!

Today is my first Christmas Card Stamp-a-Stack class and I have been busy making a whole host of designs to choose from. The two cards we are making today are very different to each other but both are simple and fun to make.

Firstly, a classic and elegant card using the beautiful Snow Swirled set in soft suede and very vanilla. The background is dry embossed and adhesive pearls have been added to the tree for that extra little touch.


The second card is a cute little number featuring some little snowmen from Window Dressing, a level 2 hostess set. Once again I've used Snow Swirled, this time the snowflakes in the background, and the sentiment is a non-SU set. Some puff paint snow adds a touch of whimsy!


Well, I'd best go hunt out some Xmas carols to play in the background at class! Ta ta!

Cheers
Kez