

Howdy! I have had a few requests for a "how to" on the mini milk carton box with the legs, so settle down for a long post and here goes!
- cut two mini milk cartons using your die and Big Shot
- cut off one complete section from each as shown below

- the centre panel has different scoring to the others (to make the spout part) but we need it to be the same, so firstly score from where the point meets the top, down to the next score line as seen below


- now score from here to either corner so you have a triangular scored shape like the others

- fold all your score lines and use your bone folder to get nice sharp creases
- using strong adhesive on the end tabs, attach the two boxes together


- to help keep your hexagon the right shape, join the bottom pieces as follows: take two opposite pieces and join them so they match perfectly and make a straight line

- do this with the other two sets of opposite pieces as well

- now cut another piece of cardstock 25.6 cm wide and height whatever you want - I used 9.5 cm for this sample
- score this piece every 4.1 cm, so at 4.1, 8.2, 12.3, 16.4, 20.5 and 24.6 - you will then have a 1 cm piece for joining
- using the 32 mm (1 1/4 inch) circle punch, punch the bottom of each section as shown below. I punched a piece of scrap paper first, folded it in half, then drew around it to give me a guide to where to punch my first one (see below), then traced around the one I had punched as a guide for the others


- don't forget to give the end piece a bit of shape too

- now decide how high up the carton you want to attach your "legs" piece. Don't put it right up to the fold as this will show too much - put it a bit below so you can hide it with your decorative panels of DSP or whatever
- put plenty of strong adhesive on the inside part - remember not to put the adhesive so far down that it goes beyond the base of your box (I drew a line at 4.5 cm so I would know where to stop!)

- begin attaching at the tab part and move around the box, adhering firmly


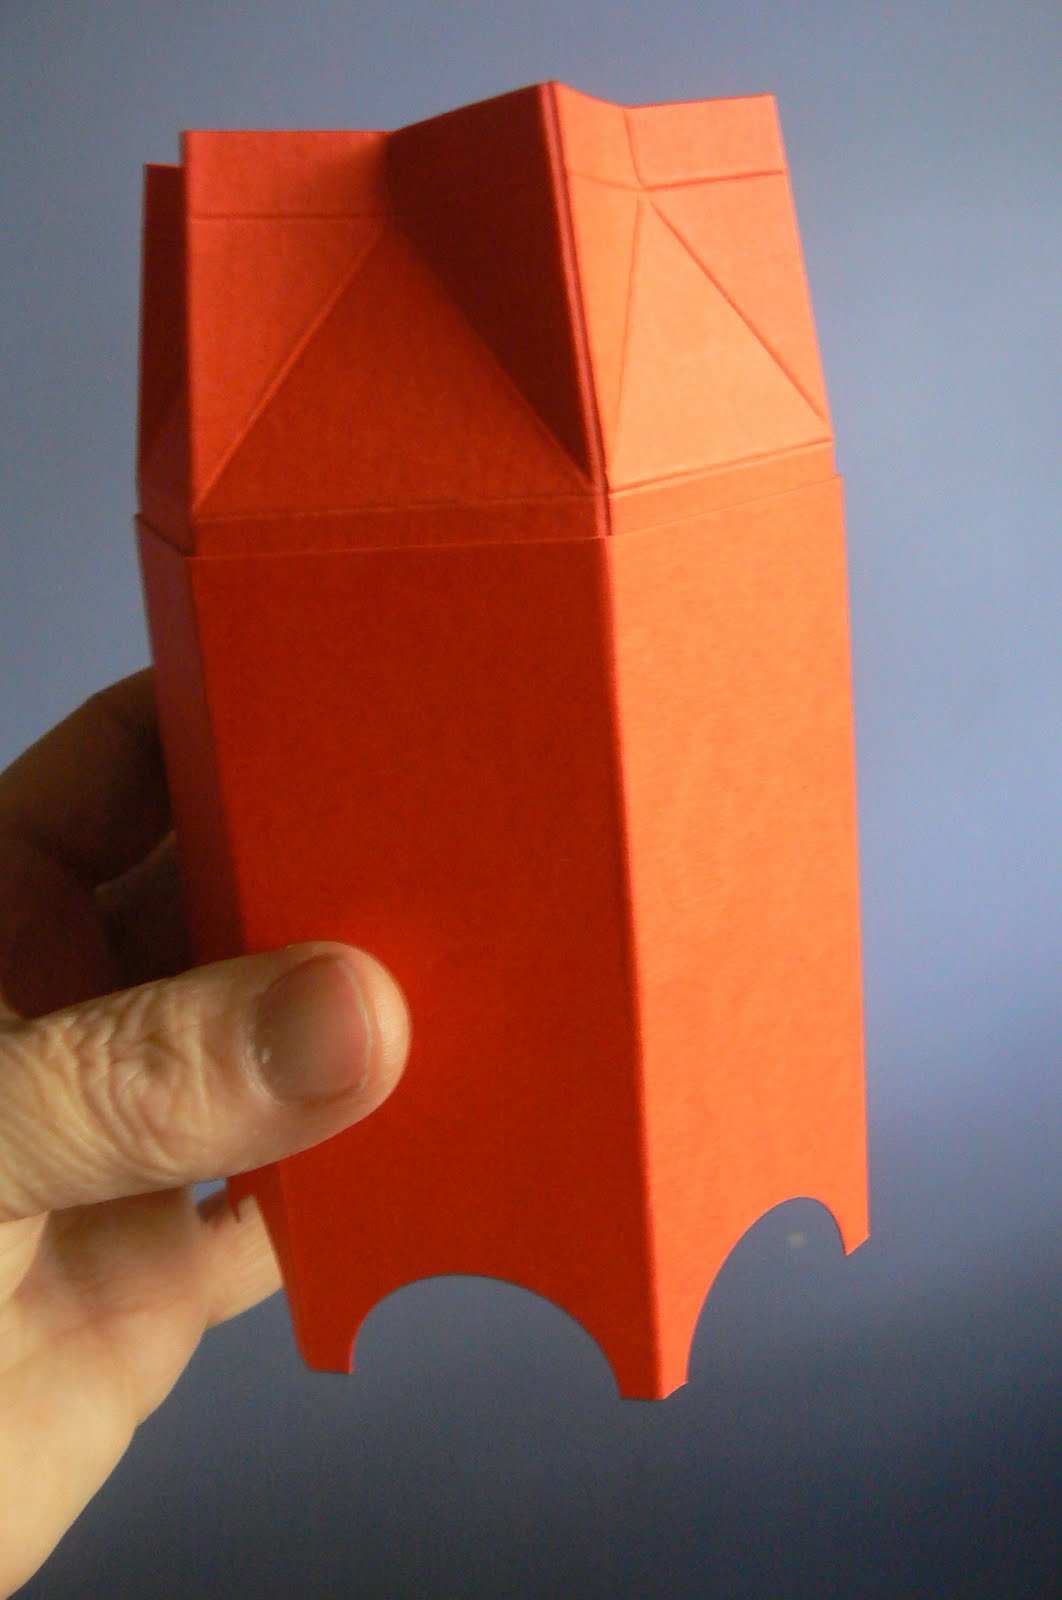
- use your crop-o-dile to punch holes in the folded top sections, then thread ribbon through to tie

- now decorate the side panels as you like - either one piece of DSP all the way around, or separate panels as per the examples below


Phew! I hope I haven't forgotten anything - have proofread this a million times!
Hope you have tons of fun making your own boxes. Many thanks to my mate Robbity for showing me how to make them in the first place!
Cheers
Kez
Edited to Add: I have since discovered that my friend got the idea for this box from two projects posted on www.creativityinprogress.com Many apologies to Sunghee for not giving her credit originally.
Cheers
Kez
Edited to Add: I have since discovered that my friend got the idea for this box from two projects posted on www.creativityinprogress.com Many apologies to Sunghee for not giving her credit originally.