OK, you had to be expecting it.
It was inevitable, really, let's face it.
I'm sure it will come as no surprise to many of you.
After all, what else could possibly happen, based on past performance?
Yes, you're right. I've gone and done it.
Again.
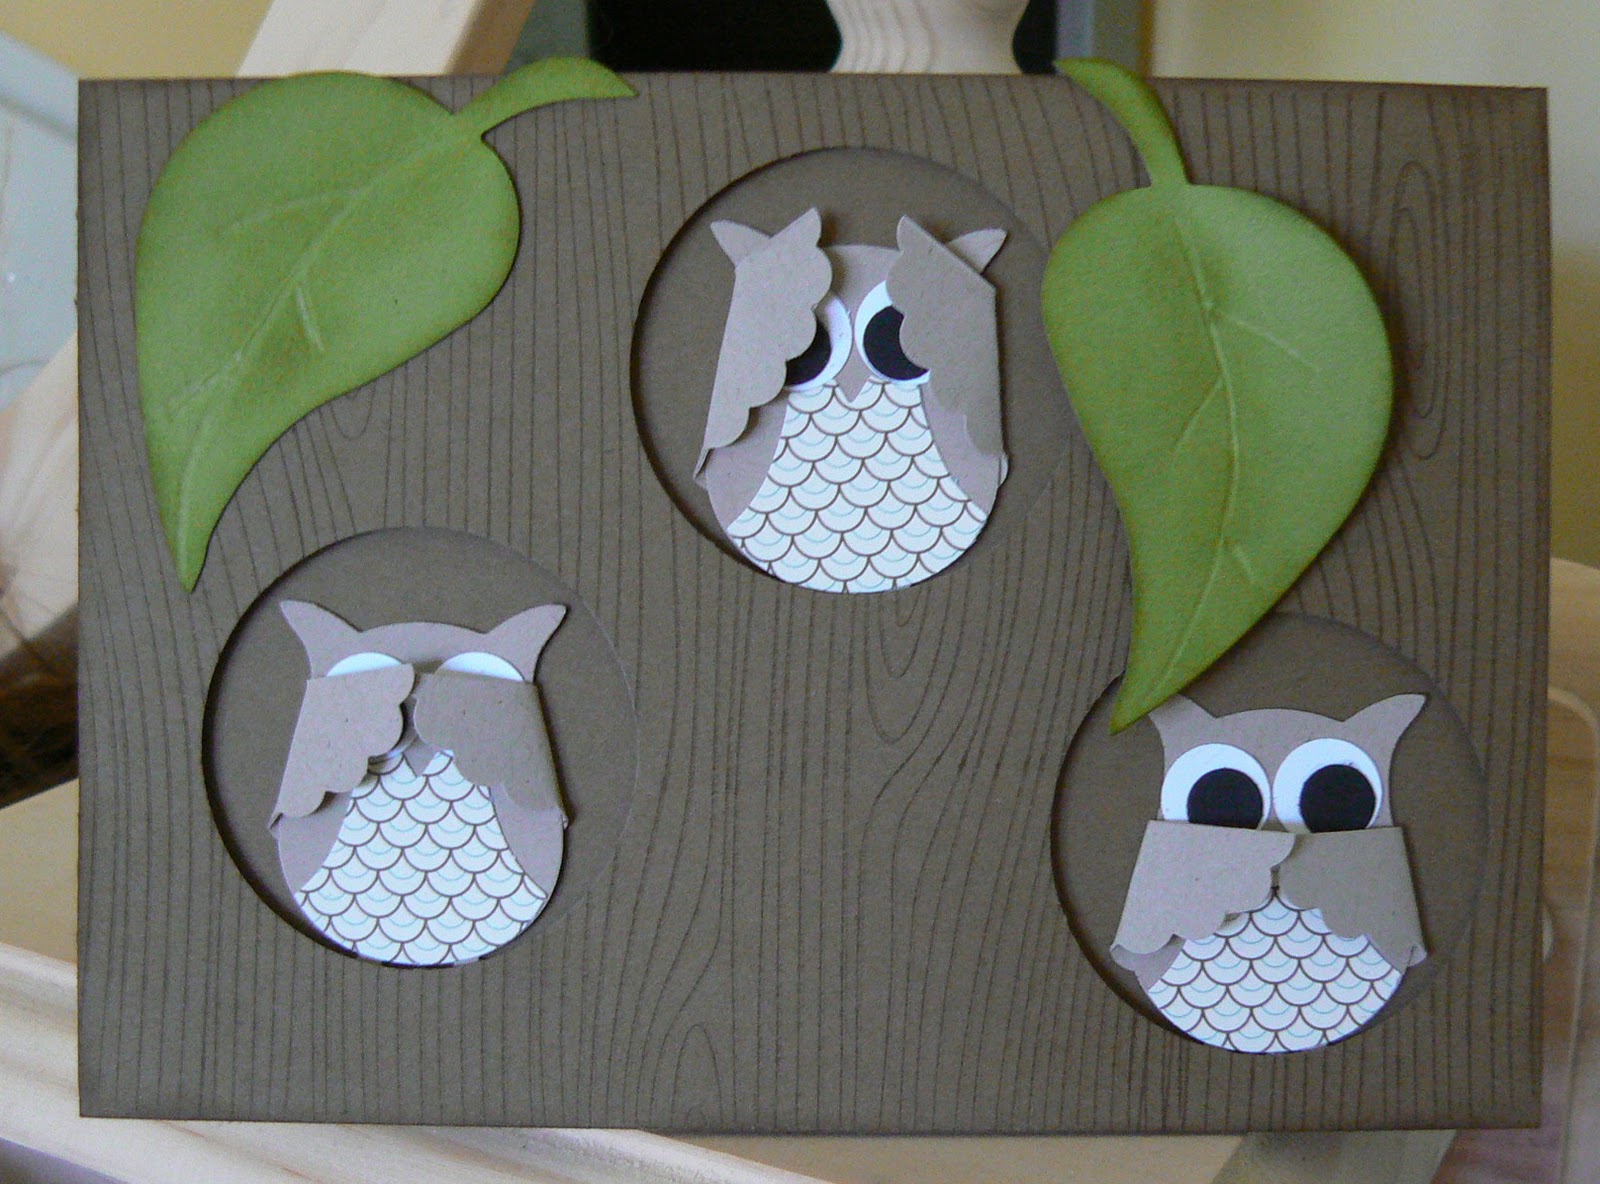
Made another owl.
Not just
any old owl. Ohhhhh no.
An Easter owl.
Having trouble thinking how owls and Easter can match up? Well, you see, here's how it happened ...
... so, I was in the shops and saw those cute little hairbands that always pop up around Easter. You know the ones, they are white and fluffy and have cute bunny ears attached. And little kids wear them and look adorable. Well, my girls did anyways ... looked adorable in them, that is. I'm sure yours do/did too!
So then I got to thinking ... would a little owl wear bunny ears too? And go around looking for eggs hidden in the garden?
Of course they would! No owl parent would deprive their child of that kind of fun, now would they? Which raises the side issue of whether or not chocolate is good for owls .... but I digress!
And so my Easter owl was created, dressed in a bunny ear headband and bunny costume and carrying a basket filled with eggs found in the grass.
Ta da!
Damn stinkin' cute is what it is! (YILM!)
Punches used:
- bunny ears - 5 petal flower
- headband - 1" circle, 1 1/4" circle
- bunny tummy - small oval
- owl wings - scallop oval
- basket - owl
- basket handle - small oval, large oval
- eggs - balloon (non SU)
- grass - grass (Martha Stewart)
- branches - 2 step bird
Hope it brings a smile to your dial. Thanks for stopping by.
Cheers
Kez


 Thanks for stopping by and don't forget to help me choose two cards!


 To add a bit more of a challenge, I used one of my favourite techniques - brayering. The negative of the punched out part is used as a template for sponging in the reflection of the bird.
 After seeing some fantastic work by Ann Fitzgerald where she uses layering and turns the simple bird into a gorgeous chickadee, I decided to have a go at making some birds we regularly see here in the Blue Mountains, rainbow lorikeets. These brilliantly coloured birds are often in our back garden and I adore their colours and cheeky behaviour! Now, I know I haven't got the right shape beak and I've ignored the feet altogether, but I'm quite happy overall with my lorikeets and their birdhouse (made with Becky Roberts' milk carton design). Yes, I did make many layers for the roof with the scallop edge punch, and yes, it did take ages! But it's worth it, I think; hope you like it too:
 OK, so far so good, but when is a bird not a bird?
 This card uses the new designer papers called Cottage Wall and the colours are Rich Razzleberry, Orchid Opulence and Old Olive. The tulips were inspired by Julia Bettencourt and the vase can be made from the Holiday Windows Movers and Shapers. A "Teneale" bow and build-a-brad complete the ensemble.
